Make a paper clock: set both moving hands correctly
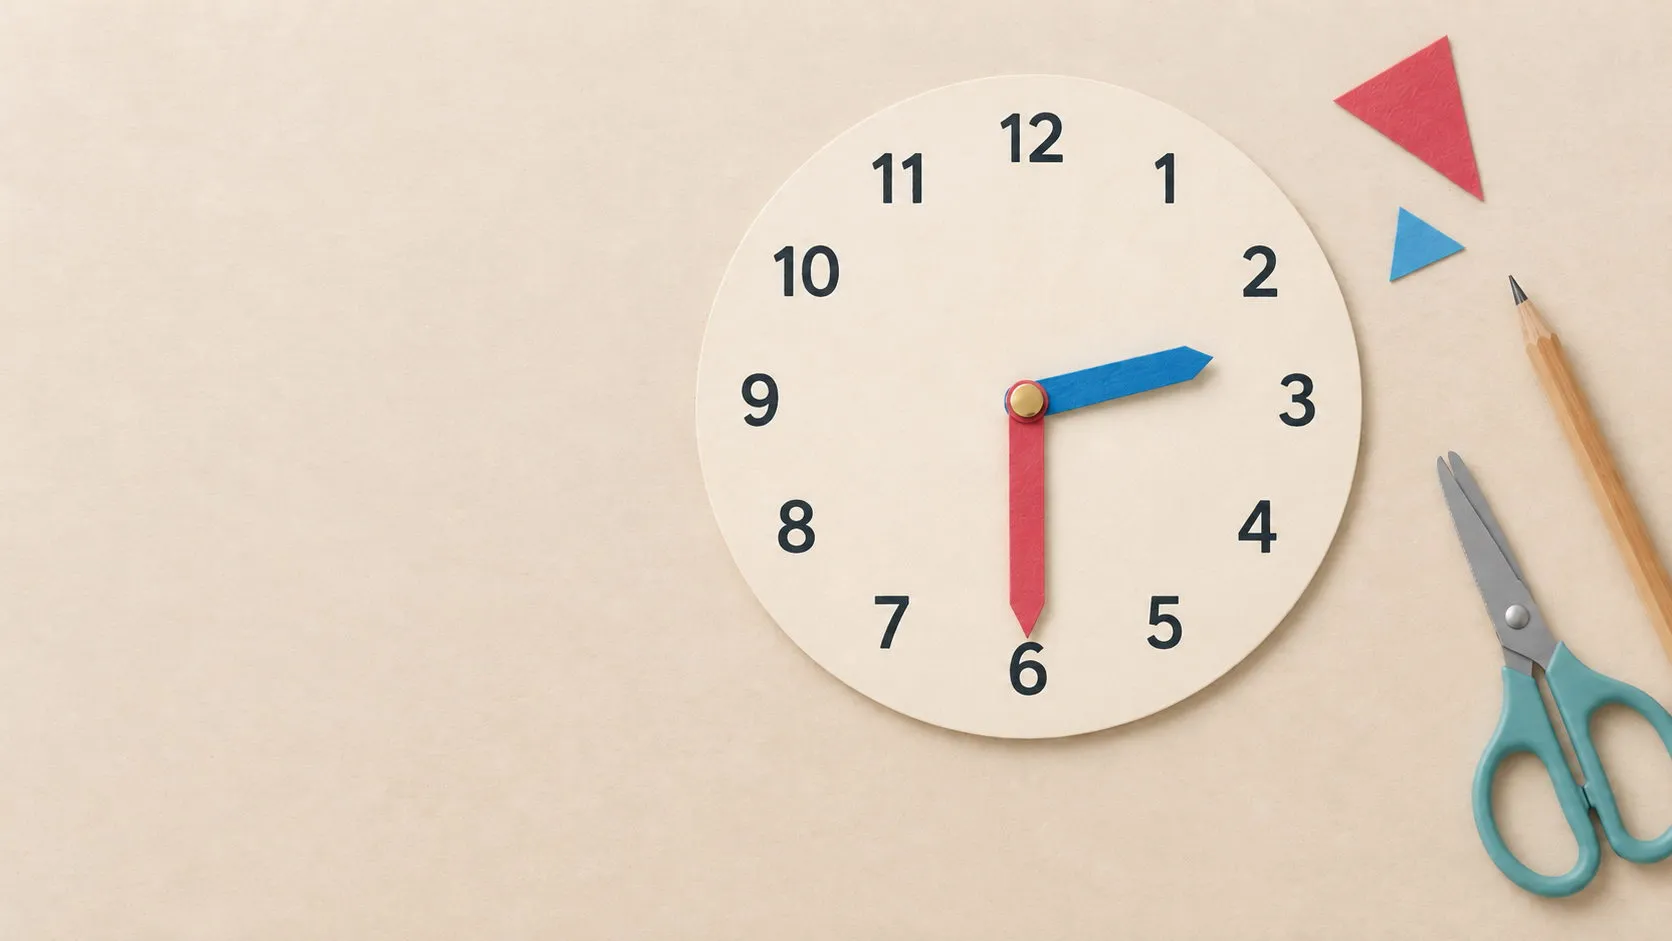
A cardboard teaching clock does not need a motor. A clock face, two hands of different lengths and a split pin are enough. Make one together, then practise setting hours, half hours and quarter hours. There is one important detail: on this homemade clock, the hour hand does not move automatically when you turn the minute hand. You need to position both hands to show the same time.
This guide gives you the materials, four construction steps, three practice times with answers and a way to compare your model with an on-screen practice clock.
Gather your materials
You will need:
- firm card for the face and both hands,
- a plate or another circular shape to trace, a pencil and a ruler,
- clear markers, perhaps blue for the short hand and red for the long one,
- scissors,
- a split pin, also called a brass paper fastener, for the pivot.
Make the face large enough for the numbers to be well spaced and the hands easy to move. Colour can help distinguish them, but the essential difference is length: the hour hand should be clearly shorter than the minute hand.
You can draw your own face using the steps below. If you prefer a printable starting point, Frau Locke offers a teaching-clock template on this German-language page.
Build the clock in four steps
1. Draw the circle and mark its centre
Trace a circle on the card and cut it out. Mark the centre, where both hands will turn. Light horizontal and vertical guide lines through that point will help you place the numbers.
2. Space the numbers evenly
Start with 12 at the top, 3 on the right, 6 at the bottom and 9 on the left. Put two more numbers between each pair of these anchors: 1 and 2 between 12 and 3, for example. Keep the spacing even and write the numbers in their usual clockwise order.
Leave the centre clear. Twelve easy-to-read numbers are enough for the first activities; you do not need a second ring of minute values yet.
3. Cut out a short hand and a long hand
Draw a short hour hand and a longer minute hand on firm card. Leave room for a hole at the base of each. The minute hand should reach near the numbers; the hour hand should end noticeably before them.
Use different colours if you like, and add small arrow tips to make the pointing ends obvious. Before attaching them, ask: which hand shows hours, and which shows minutes?
4. Attach the hands so they can turn
Make a small hole in the centre of the face and at the base of each hand, with an adult helping to make the holes. Place the hands one above the other, push the split pin through all three holes and spread its legs on the back.
The fastener should hold the pieces together without pressing them tightly against one another. Check that you can turn each hand separately while the face stays still. If both hands keep moving together, loosen the fastening slightly and gently hold the other hand in place as you adjust one.
The hour hand belongs between numbers too
On a working analogue clock, the short hand gradually moves towards the next hour. At 2:30, it is exactly halfway between 2 and 3. It does not stay on 2, and it has not reached 3.
Your paper clock has no mechanism linking the hands. Turning the long hand from 12 to 6 means you must also move the short hand from 2 to halfway towards 3 yourself. This is the key difference between your model and a working clock.
Use two questions whenever you set a time:
- How many minutes have passed since the hour began? Use that to position the long hand.
- How far through the hour are we? Move the short hand that far towards the next number.
Three times to check your finished clock
Cover the answers and set 2:00, 2:30 and 2:45 in turn. Explain where both hands belong. Remember that the number beside the minute hand does not name the hour.
| Time | Long minute hand | Short hour hand |
|---|---|---|
| 2:00 | on 12: zero minutes | exactly on 2 |
| 2:30 | on 6: 30 minutes | halfway between 2 and 3 |
| 2:45 | on 9: 45 minutes | three quarters of the way from 2 to 3, already close to 3 |
At 2:45 it is not yet three o’clock. At 3:00, the short hand reaches 3 and the long hand is back on 12. For an extra challenge, set 2:15: long hand on 3, short hand a quarter of the way from 2 to 3.
For more minute positions, see our guide to reading an analogue clock in five-minute steps.
Compare your model with the on-screen practice clock
In the UhrenABC / ClockABC web application, open the free practice clock, labelled “Zeit üben” in the German interface. Use the hour and minute sliders to set the same times. The analogue hands, digital displays and written time update together.
Start with 2:30. Does your paper model match the long hand on 6 and the short hand halfway between 2 and 3? Then compare 2:00 and 2:45, watching the small change in the hour hand’s position.
The free practice clock is for exploring; it does not mark your paper answer. You check whether the two clocks show the same time. If they differ, describe the difference first, then adjust the relevant paper hand.
Take turns after making the clock
One person sets a practice time; the other reads it and explains both hand positions. Then swap roles. If a time feels confusing, return to an exact hour before trying a half hour or quarter hour again.
Your handmade clock is now a model you can use to show and discuss times. Try 2:30 together, then compare it with the free practice clock. You can find the application links on the UhrenABC website.